
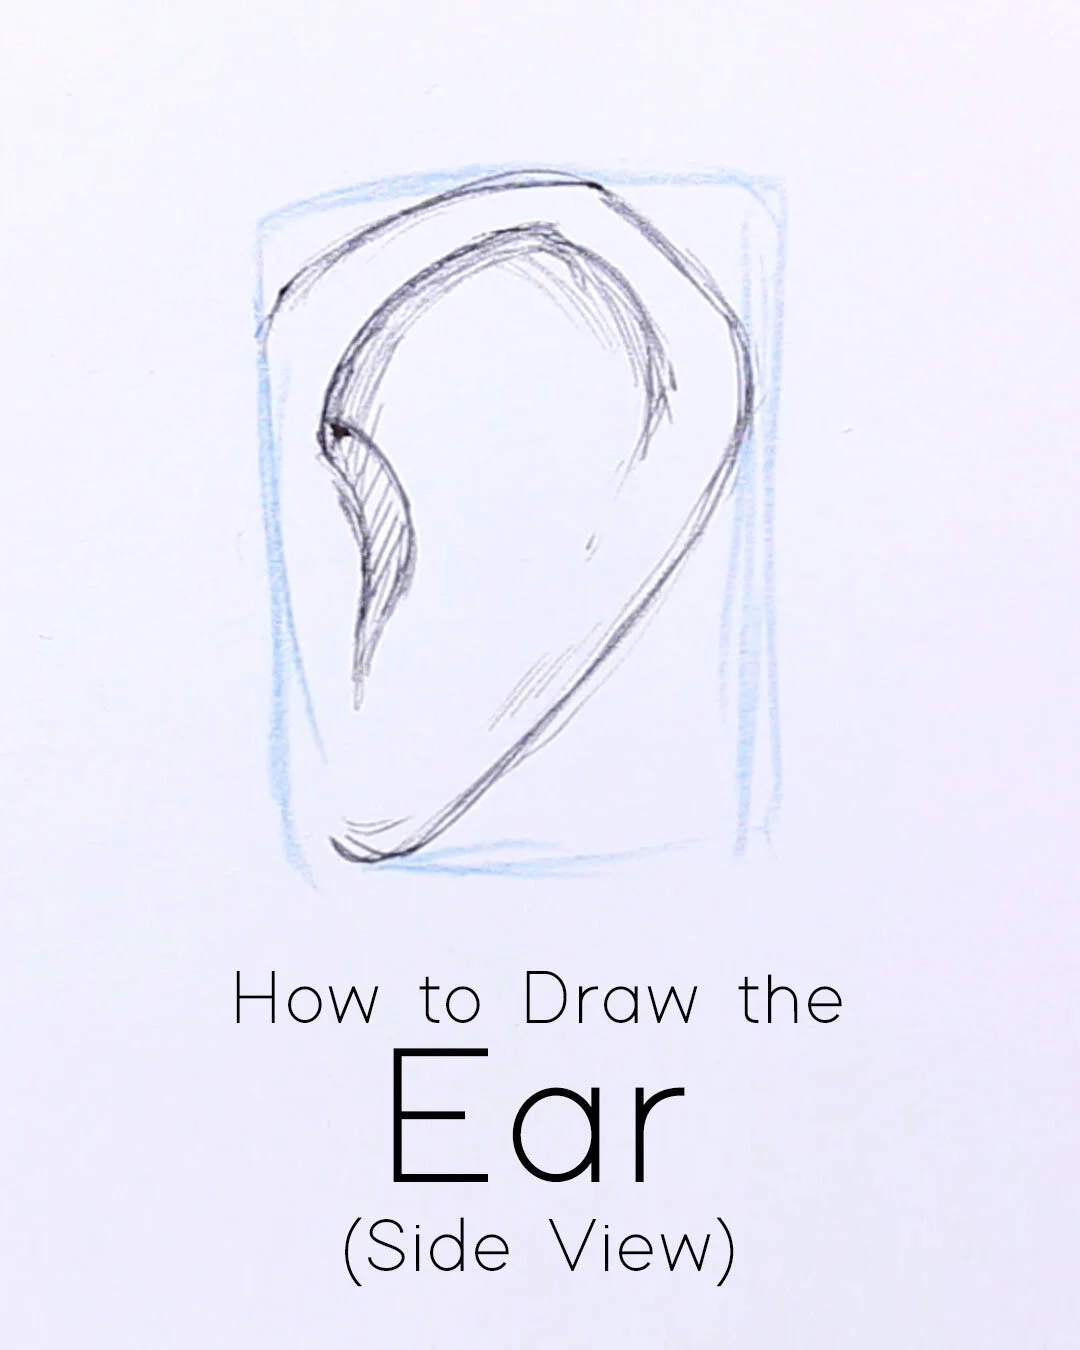
How to Draw Ears
Welcome to drawing the ears from the side, you can find the step by step guide with example drawings below. I also have some worksheets for drawing ears that you can print and use once you’ve tried the step by step. Hands on practice is crucial for drawing so the worksheets are designed to promote a streamline way of drawing regularly.
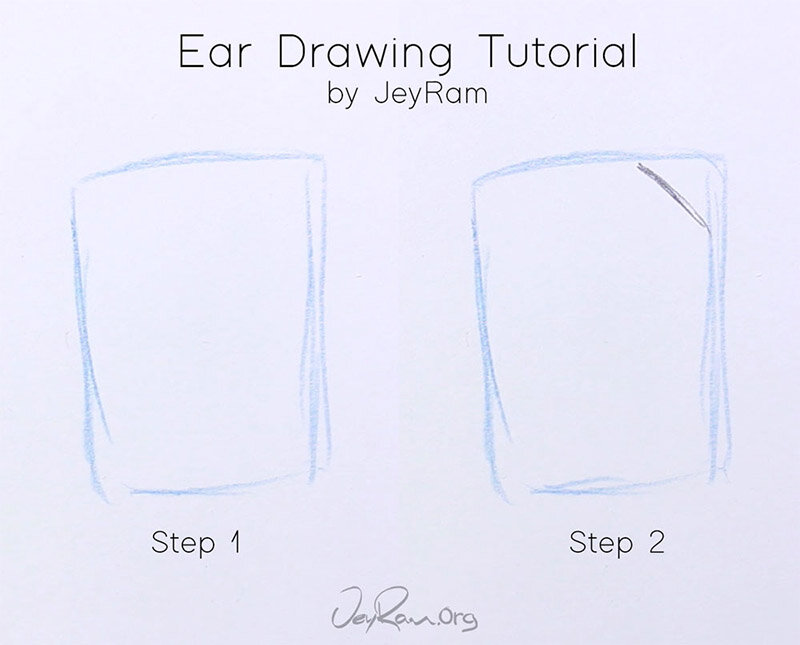
Step 1. Guideline
Draw a rectangle that is the approximate size and proportion of the ear you want to draw.
Using guidelines helps us develop a system for playing with different character designs, once you get comfortable with a more normal size ear you can easily change it just by adjusting the initial guideline.
This step will also make it easier to draw ears on heads later on because you can match the guideline to the head.
Step 2. Corner
Draw an angled line in the top right corner, the hole of the ear will be on the left side so this is the outer edge of the ear
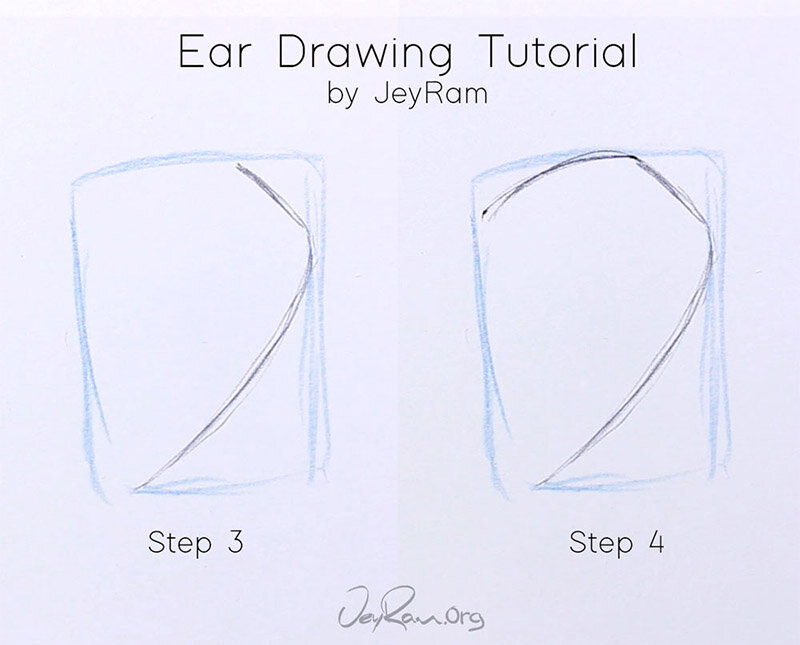
Step 3. Large Curve
Draw a curving line from the bottom right of the previous line, down towards the bottom left.
Don’t connect this line completely to the left edge because we want to leave some room for the rounded part of the ear where people usually get their ears pierced. If you want you can play with how far away or close this line comes to the left side, different proportions can create very different character designs.
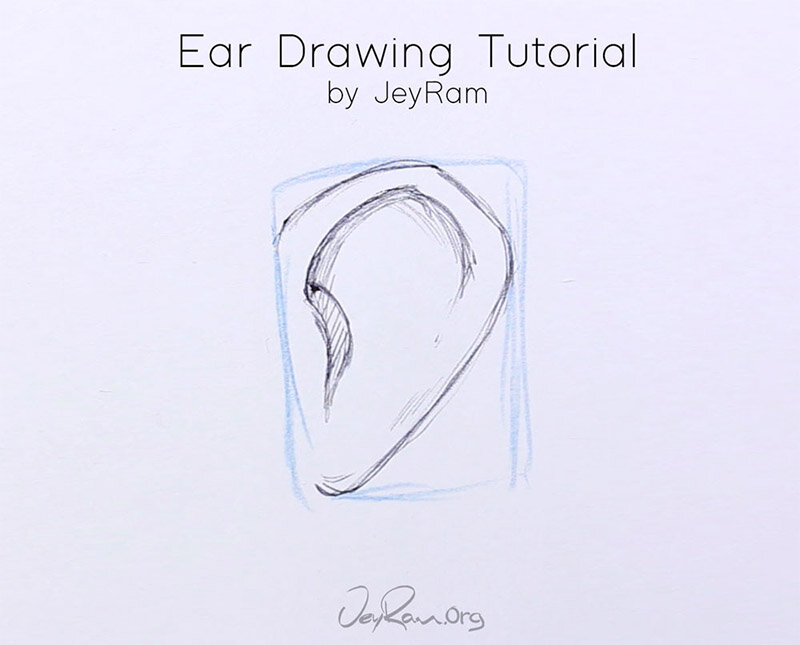
Step 4. Top Curve
Let’s complete the large form of the ear by drawing in a curve at the top that comes slightly down and connects on the left side of our guideline.
Feel free to erase and make changes to your drawing! Look at the overall proportions of your drawing and see if you want to make any changes, at this stage we have the large forms in place so we have a good idea of what the ear will look like. The following steps will just be adding in the details.

Step 5. Inner Curve
Add a curve towards the center of the left line, behind this curve will be the dark region of the ear (the ear hole).
Make sure not to draw this curve too close to the top
Step 6. Reverse Curve
Draw another curving line that goes in the opposite direction of the last curve, this line defines the upper ridge of the ear.
Pay attention to how the space between the top curve and this inner curve are farther apart towards the left and slightly closer towards the top right.
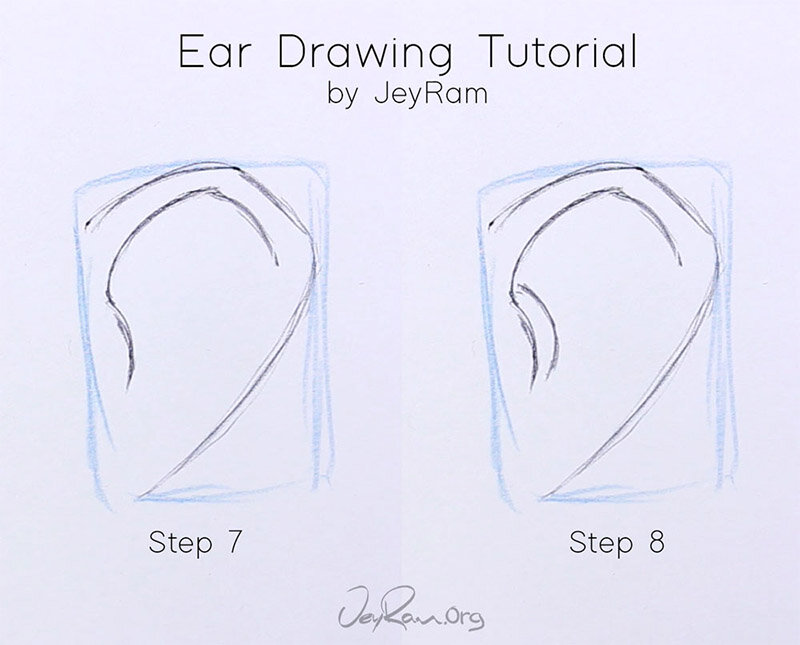
Step 7. Right Edge
Continuing from the curved line in the last step lets add a line that is angled downwards to match the line in the first step in the process (the one in the top right of our rectangle).
Step 8. Inner Region
Add a curved line behind the inner curve that is in the middle of the ear, the space between these two lines will be where the earhole is located & where we will darken in to indicate the depth of the ear.
Step 9. Shading
Add shading to the inner edges of the ear to give it depth.
Add a small curved line in the bottom left to connect the outer edge to the left guideline
I like to add a few thin lines to give the drawing a bit more form, you can see this towards the bottom right of the ear where I have gently added a few lines.
Step 10. Practice
Take some time to draw a few more ears in your sketchbook or on plain paper! Drawing is tons of fun because you can experiment a lot without any real costs.
Play around with proportions, draw a rectangle that is slightly taller or wider, see what types of shapes you like
This is a more simplified form of the ear because I prefer a more minimal approach, you can also lookup photos of real ears and see how far you can push the details if that is something you are interested in.
This completes the drawing of the ear from the side view. There are tons more tutorials on the site that you can check out and I will be covering lots more topics over the next few months so stay in touch! I hope this was useful to you :D Thank you for letting me part of your artistic journey ^.^
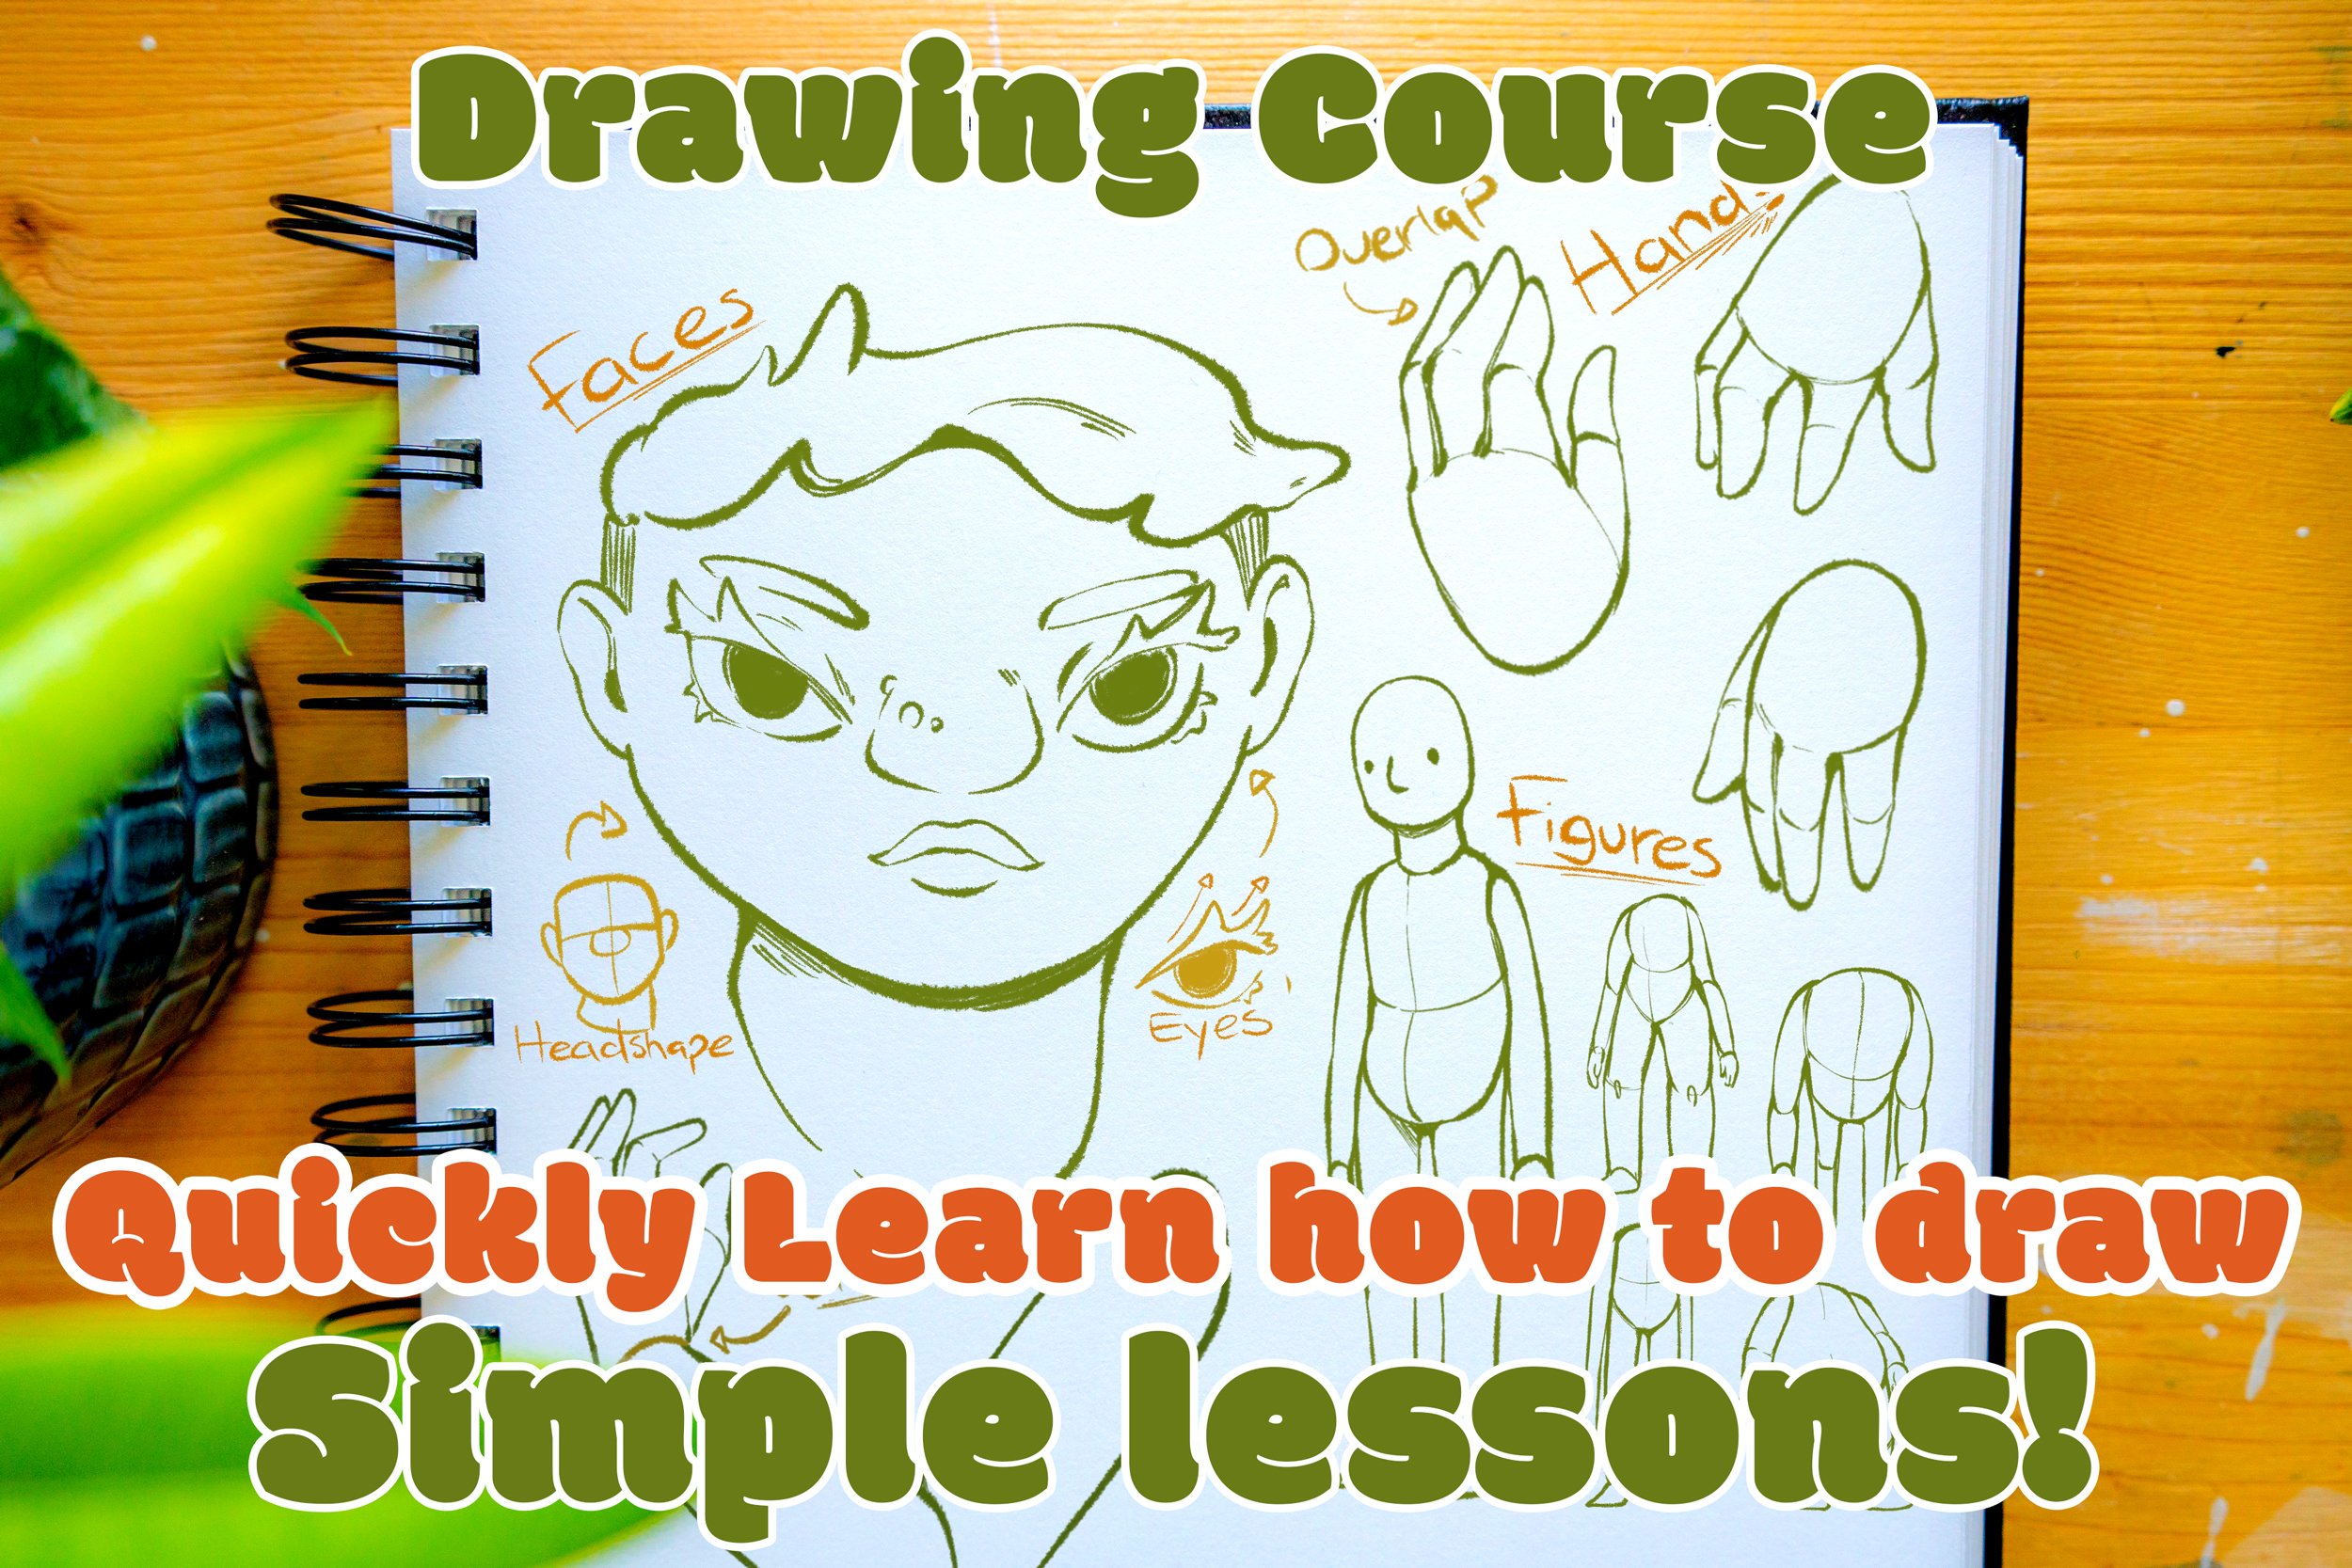
Quickly learn the basics of drawing faces and start having fun with this simple drawing course designed for beginners!
This Course Includes:
✓ Over 14+ hours of video content!
✓ 35 Video Lessons!
✓ 35 Printable Reference Sheets!
✓ Real time video with voice over!